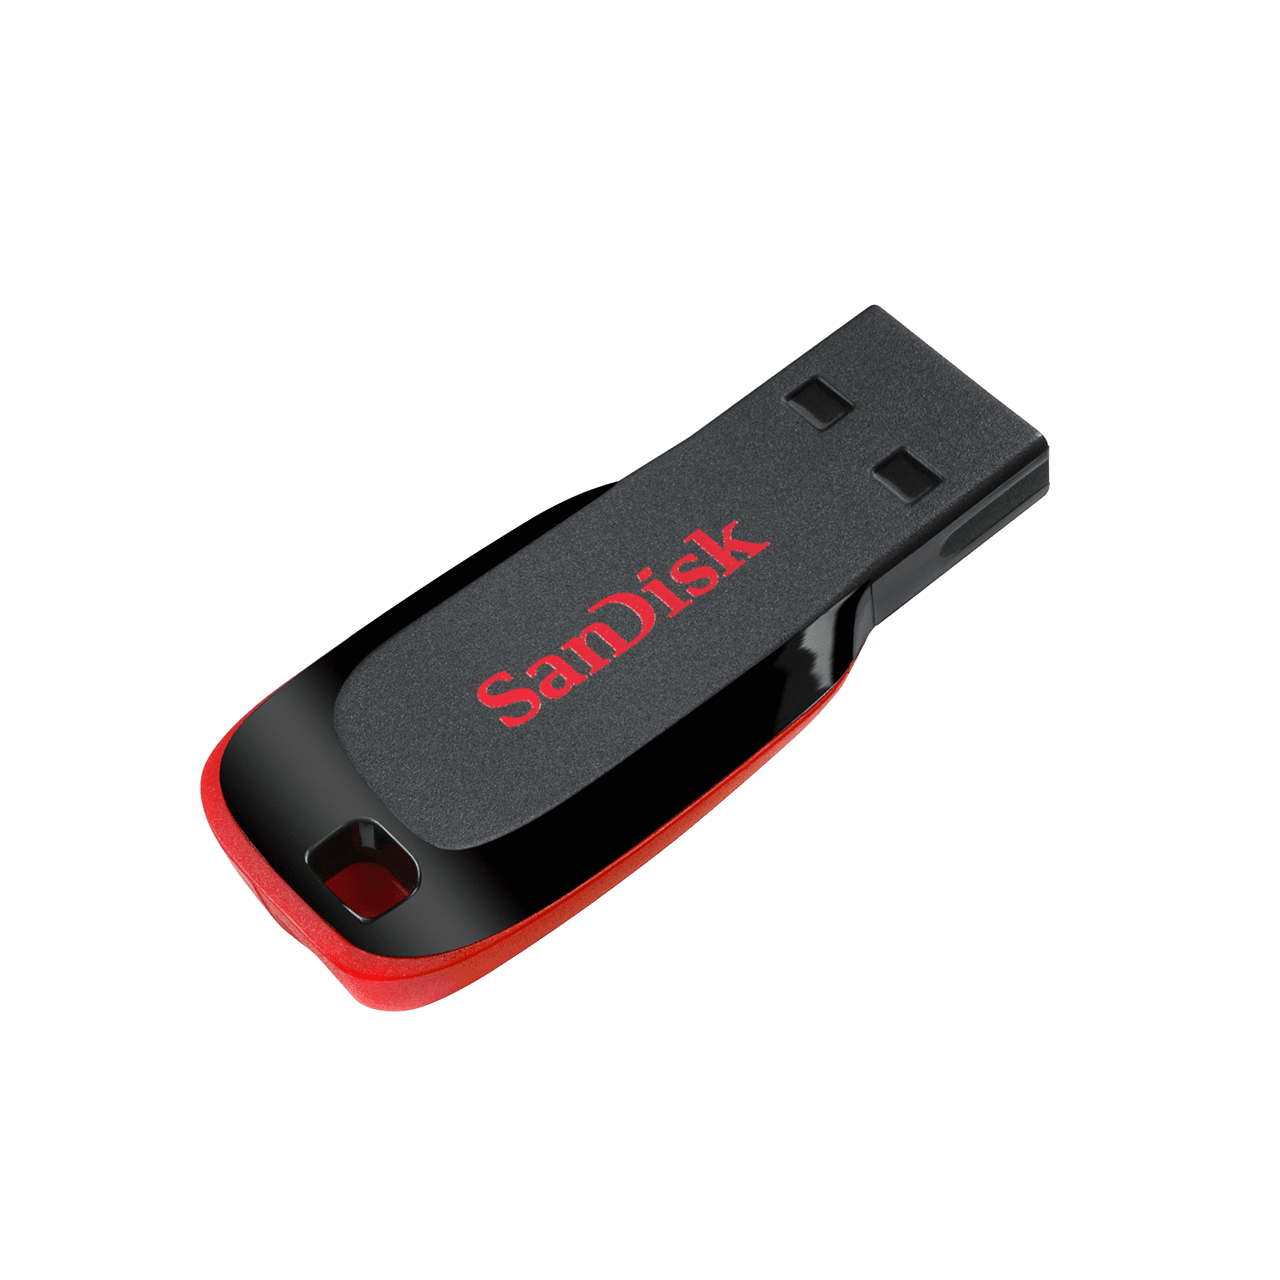
Introduction — why portable drives matter
USB sticks and external drives are everywhere: employees carry them, users back up to them, and threat actors use them to move data or implant malware. For investigators, these devices are often rich sources of evidence — file histories, hidden partitions, deleted data, timestamps, and even artifacts that reveal user intent. But portable storage is also fragile from a forensic perspective: easy to alter, often encrypted, and sometimes physically damaged. This guide explains how to approach portable evidence safely and efficiently.
1. Triage & initial handling (first 5–15 minutes)
-
Isolate and record: Photograph items in place, label them, and record device model, serial, visible damage, connectors present, and any attached host device. Note how it was found (logged time, who found it).
-
Avoid powering up if uncertain: If the drive appears physically damaged, wet, or part of a larger incident (explosives risk, hazardous environment), follow safety protocols and consult specialists.
-
Prevent remote tampering: If the drive is connected to a running computer, isolate the host from networks (airplane mode, unplug Ethernet/Wi-Fi) to prevent remote wiping. Record volatile state (running processes, mounted volumes) — but avoid altering the device unnecessarily.
2. Forensic imaging: the single non-negotiable step
Why image? Always work from a bit-for-bit image (a forensic duplicate), never the original. Imaging preserves the original evidence and provides an auditable copy for all analysis.
-
Preferred image types: E01 (EnCase), AFF, raw DD (for maximum compatibility), or compressed variants when storage is constrained.
-
Tools: Hardware write-blockers (USB/eSATA/SATA) and imaging tools (FTK Imager, dd, Guymager, EnCase, Axiom, X-Ways). If a device uses a modern controller (USB-to-SATA bridge), imaging should still be possible via a write-blocker; for some encrypted or proprietary devices, additional techniques may be required.
-
Hashing: Compute and record cryptographic hashes (MD5 and SHA-256) of the original and image. Repeat at end of transfer to validate integrity.
-
Multiple images: If you expect destructive testing (e.g., attempt to bypass hardware encryption), create multiple images and store copies securely.
3. Handling encrypted or password-protected devices
Portable drives increasingly use hardware or software encryption (BitLocker To Go, VeraCrypt, hardware-encrypted drives).
-
Look for keys/credentials: Search the host computer for key files, recovery keys, or cached credentials. For BitLocker, search for “.bek” files or AD backup. For mobile devices, check synchronized cloud backups that might hold keys.
-
Memory capture: If the host machine is still powered and the drive is mounted with keys in memory, capture RAM immediately (volatile acquisition) to recover decryption keys.
-
Specialist routes: For hardware-encrypted drives, vendor tools or lab-level hardware attacks may be necessary. Document all attempts and get legal approvals where required.
4. Common artifacts and where to look
-
File system metadata: Timestamps (MACB: Modified, Accessed, Created, Changed), NTFS USN Journal, MFT entries.
-
Deleted files: Recoverable via carving or file system journal analysis.
-
Hidden partitions & slack space: Partition tables (MBR/GPT), unallocated space often contains remnants of prior files.
-
USB history & host artifacts: On Windows hosts, registry keys, setupapi logs, and the usbstor entries can show when a USB device was connected and to which host. On macOS/Linux, system logs and dmesg can help.
-
Exfiltration traces: File copies, recent modification times, and unusual folder structures can indicate exfiltration. Cross-correlate with host timelines.
5. Specialized techniques
-
Firmware & controller analysis: Some thumb drives hide data in firmware or use wear leveling; forensic tools that understand flash translation layers (FTL) help recover beyond simple imaging.
-
Chip-off & JTAG: For physically damaged or wiped NAND flash, chip-off and JTAG recovery (performed in forensics lab) can extract raw flash contents — high risk and costly but sometimes essential.
-
File carving & signature analysis: Recover file fragments from unallocated space using carving tools (e.g., PhotoRec, scalpel) and validate with file headers.
-
Timeline analysis: Build a timeline that merges host logs, file system timestamps, and external logs to reconstruct events.
6. Chain of custody & legal considerations
-
Document everything: Who handled the device, when, what actions taken, and why. Include photos, chain-of-custody forms, hashes, and storage location.
-
Preserve provenance: Keep the original in a secure, tamper-evident bag and store in an evidence locker.
-
Search warrants & privacy: Ensure you have proper legal authority to image and examine devices. For cross-jurisdictional cases or cloud keys, consult legal counsel before proceeding.
7. Common pitfalls & how to avoid them
-
Working on the original: Never analyze without imaging first.
-
Not using write-blockers: Always use hardware or OS-level write protection to avoid accidental writes.
-
Skipping volatile capture: If the host is live and keys may be in RAM, skip imaging until RAM capture is complete.
-
Ignoring hidden spaces: Unallocated space, slack, and hidden partitions hide valuable artifacts.
-
Overlooking metadata manipulation: Timestamps can be altered. Validate findings across multiple artifacts (logs, network, other devices).
8. Recommended toolkit (starter)
-
Hardware: USB/SATA write-blocker, write-protection adapters, forensic duplicator (e.g., Logicube), technician’s toolkit for opening enclosures.
-
Software: FTK Imager, Autopsy/Sleuth Kit, X-Ways, EnCase, Guymager, PhotoRec/Scalpel, bulk_extractor.
-
Lab: NAND reader for chip-off, soldering station (lab-only), isolated forensic workstation, secure storage.
9. Case example (short)
A company suspected data theft. Investigators seized a labeled USB stick. Photographs logged condition; the device was imaged via a write-blocker and hashed. Analysis revealed a hidden partition where a compressed archive contained proprietary documents last modified during a specific window. Cross-checking USB connection logs on the employee’s workstation confirmed the timeline, enabling the investigator to present a cohesive, court-admissible timeline.
10. Best practices checklist (quick)
-
Photograph and document immediately.
-
Use hardware write-blockers and image the device.
-
Compute MD5/SHA-256 hashes pre- and post-image.
-
Capture RAM if necessary and legally permissible.
-
Search host for keys and artifacts.
-
Explore unallocated space and hidden partitions.
-
Maintain chain-of-custody documentation at every step.
-
Store originals securely; analyze copies only.
Conclusion & next steps
Portable storage contains potent evidence but also presents unique challenges — encryption, fragile hardware, hidden partitions, and easy opportunity for tampering. A disciplined process (document → isolate → image → validate → analyze) combined with appropriate tools and legal authority will maximize evidentiary value while preserving admissibility.


Post comments (0)